
The recent update made this next part much easier.

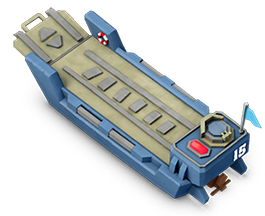
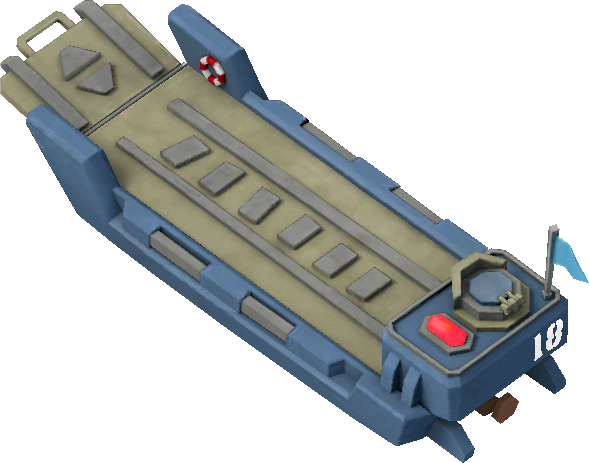
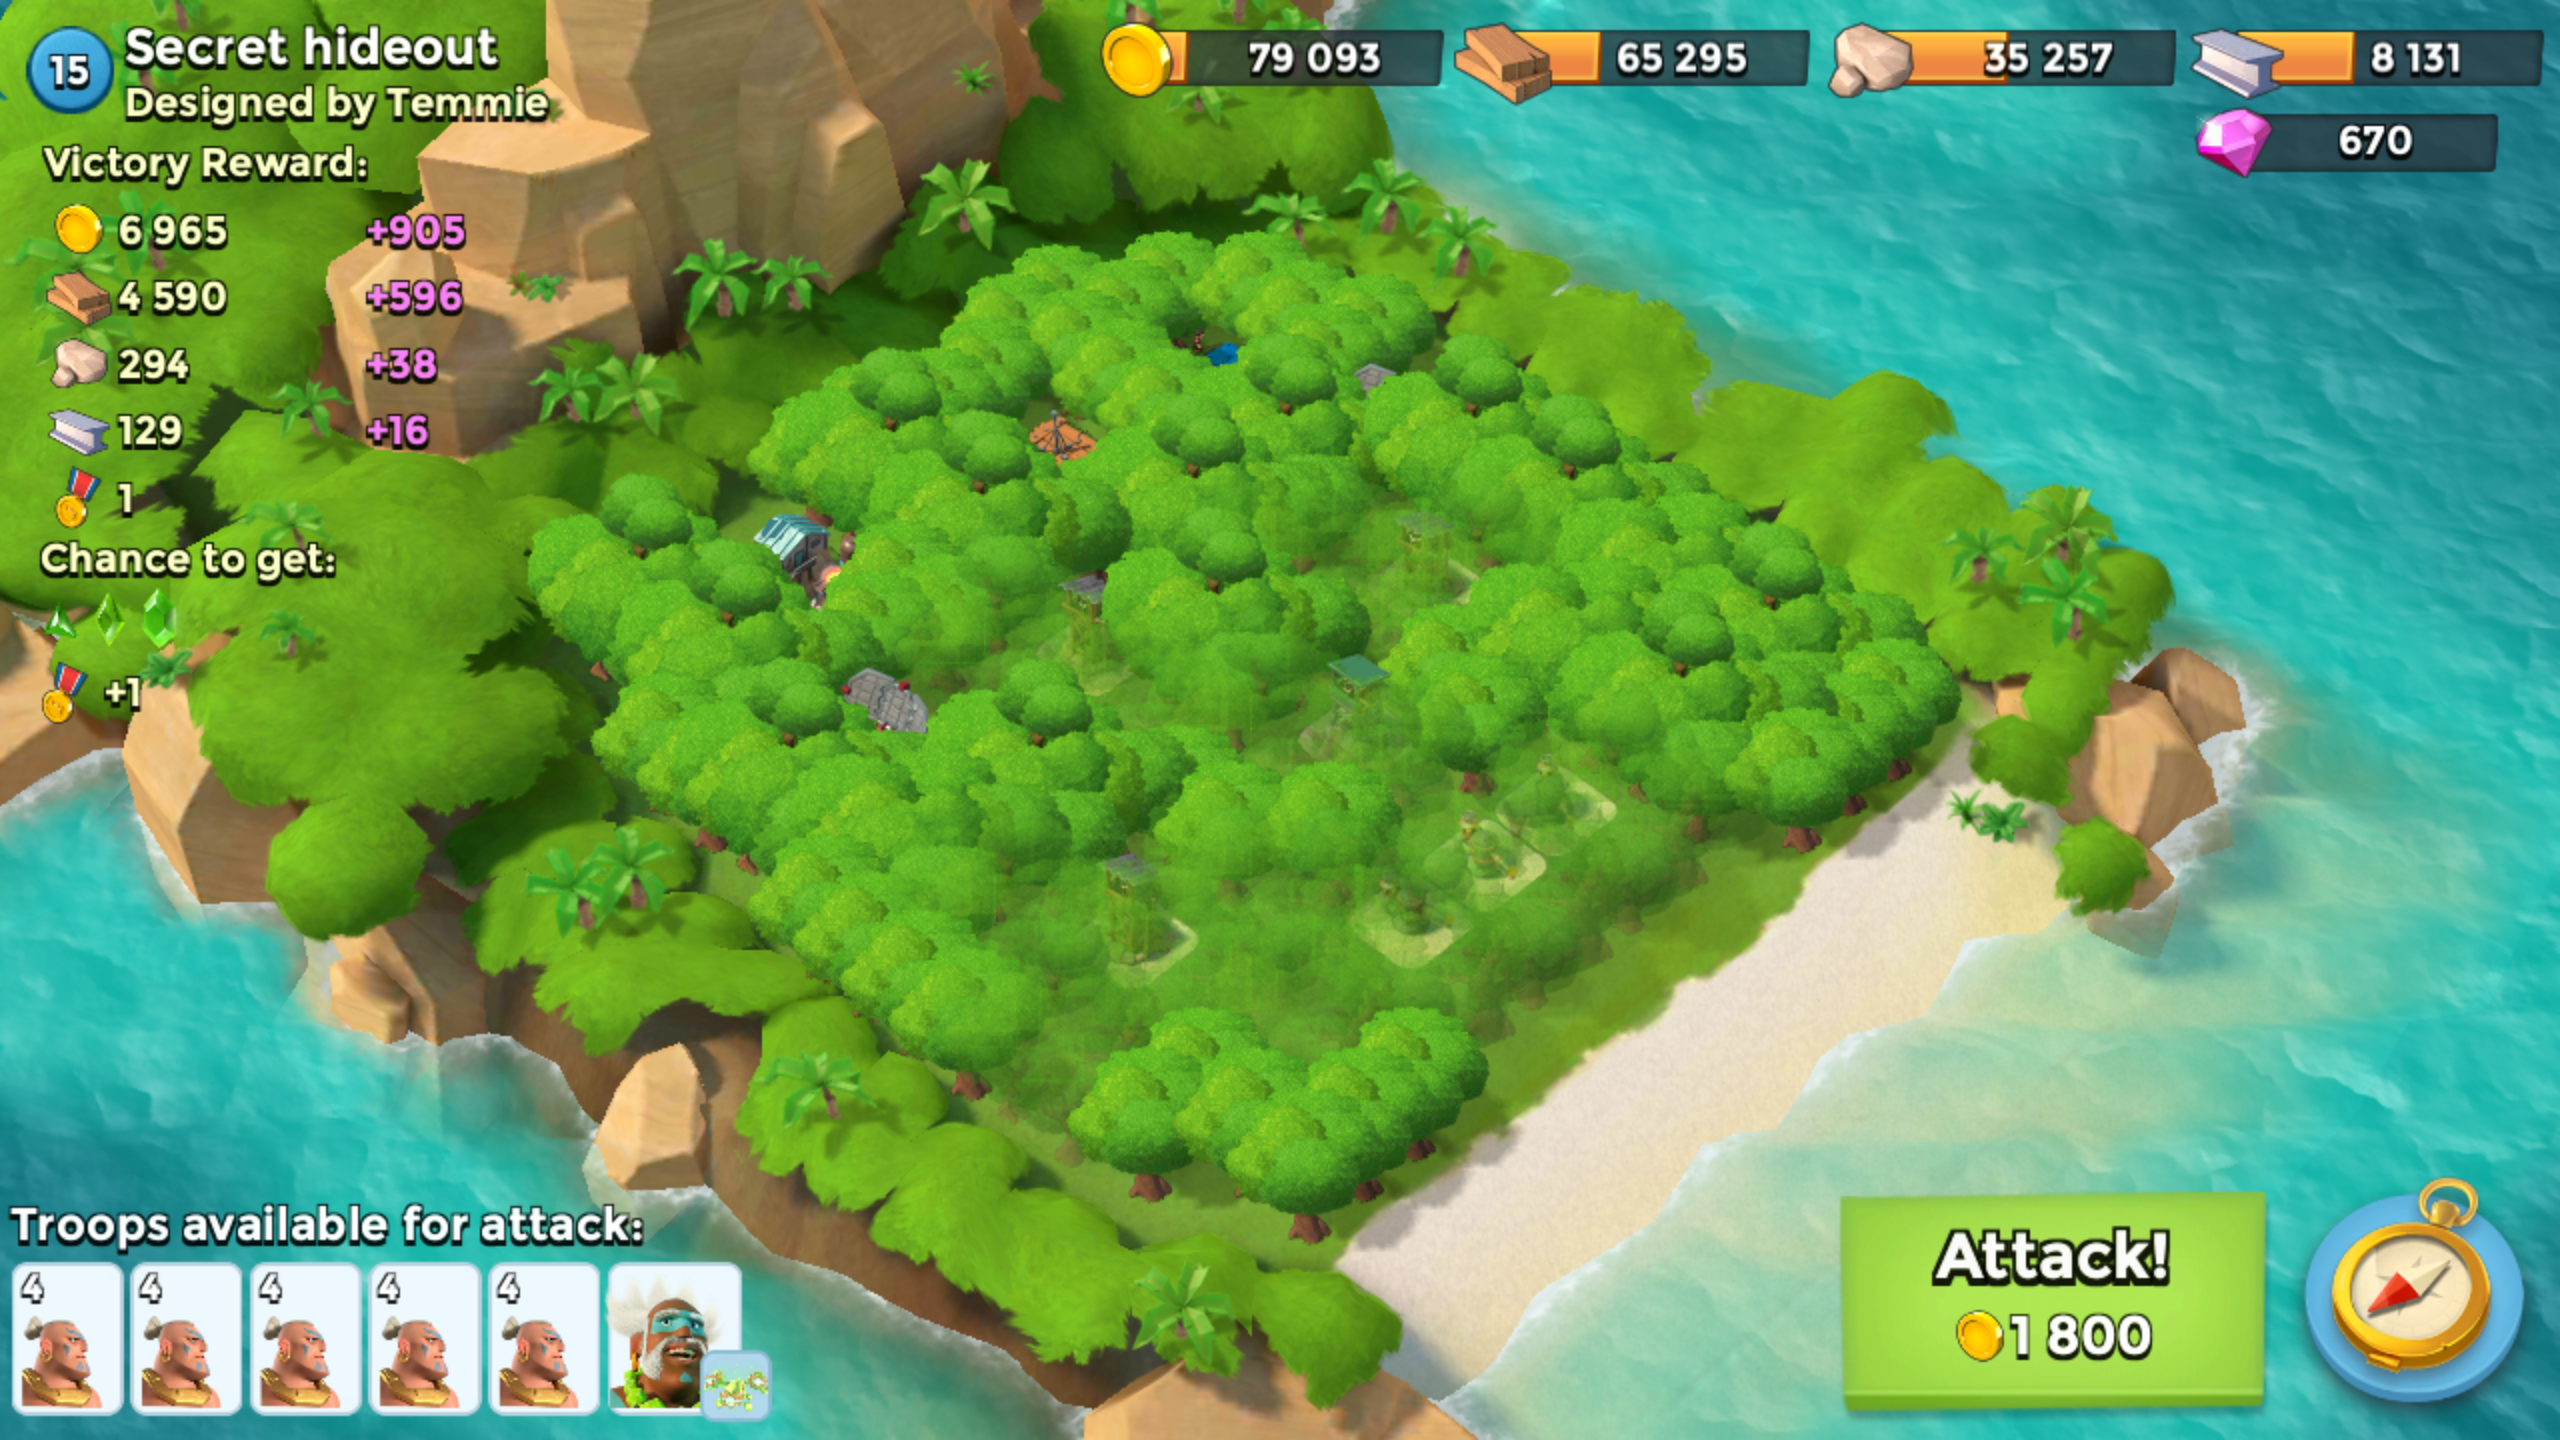
You want to try to not leave a gap between smokes, but a small gap usually does not cause too much trouble, as long as it is very small. Warriors will either walk in a straight line, or at a 45 degree angle, so planning your next flare should be based on that. Generally, you will flare to a building near the beach first, covering it with smoke, and if there are multiple hard hitting defenses near it, put 1 smoke in the direction the warriors are coming, or 2 spread out if it is very close to the beach. You want to find the best way top get to the HQ using flares and smoke. 1 barrage on the HQ should take out all mines withing 1 space of the HQ. artillery shot between 2 mines 1 space apart will take out both mines in 1 shot. Barrage are good for taking out large clusters of 4-5 mines spread out, while artillery are better at taking out lone mines or close clusters. You want to take as many mines out of the way to the HQ as possible while using the least GBE as possible. Smokey WarriorsĦ landing craft, max level 14, capacity 18Īll HQs: All Warriors, all the time Strategy Barrage and well-placed artillery are good for taking these out. Boom mines will generally one-shot any warriors in an AOE radius, similarly clustered well-leveled mines can put a serious dent in a large number of warriors' health very quickly. another good shock bomb target.īoom Mines/ clustered normal Mines. These generally one-shot your warriors, so you need to take them out quickly. can take out large groups of warriors if high enough level.īoom Cannons/ Cannons. Similarly to Machine Guns, flamethrowers do lots of close up damage, AOE as well.

Due to the melee range of the warriors, they need to get right next to the machine guns, which tear them to shreds very quickly if high enough level. Usually roll over similarly levelled bases. Dump all warriors together, and then shock as many defenses as you can once you start taking heavy fire.

Take out all boom mines in the way to the HQ. Warriors (non smokey)Ĥ landing craft, max level 8, capacity 12Īll HQs: All Warriors, all the time. If off to the side, your heavies could get out of range while leaving your Zookas unprotected, giving the mortars easy shots to take out large groups. Your Heavies will most likely get one or two-shotted by these, quickly depleting your forces protecting your zookas. Will have to either take them out or shock them as you approach.īoom Cannons/ Cannons. Your Heavies will be inside the no-fire zone, while your Zookas will be outside, and will be obliterated in seconds. Zookas will be able to attack flamethrowers without being attacked by them unless flared too close. Though it does depend on your upgrades, and how much damage your troops are taking. If facing lots of single target defenses, it is usually better to shock than to heal, and vise versa for splash defenses. Take out rocket launchers and cannons/boom cannons. HQ 20 Setup: 4 boats Heavies, 3 boats Zookas, 1 boat Medics Strategyĭeploy your Heavies first, then Zookas, to make sure that the Heavies will tank any damage, and to protect from splash damage on the beach. HQ 16 Setup: 4 boats Heavies, 3 boats Zookas OR 3 boats Heavies 3 boats Zookas, 1 boat Medics HQ 12 Setup: 3 boats Heavies, 3 boats Zookas HQ 9 Setup: 3 boats Heavies, 2 boats Zookas HQ 6 Setup: 2 boats Heavies, 2 boats Zookas HQ 5 Setup: 2 boats Heavies, 1 boat Zookas
Boom beach landing craft heavies free#
Here is my layout, feel free to copy it.Common attack strategies: Hooka (Heavy + Zooka) Put the ERs in the back in each corner, put a cannon right behind the ER so that the heavies can't target them, and the cannons can start destroying the heavies at a slow but effective rate, doing this will also force them to use Gunboat Energy to take them out, and not saving some for the front line cannons. A good cheeky way to win is to put most of your defences at the front


 0 kommentar(er)
